
Before you buy: The step-by-step Auckland flood risk checklist
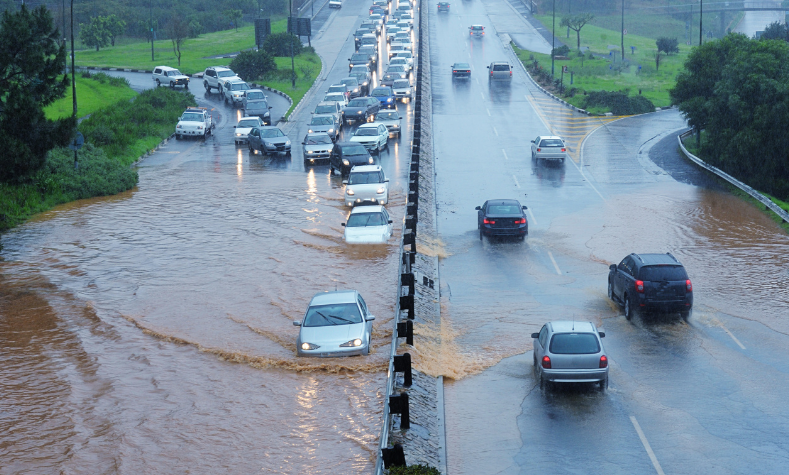
In our recent podcast we spoke with Metis Consultants all about the rollercoaster world of flood risk. Flood risk isn't just about soggy lawns or damp basements – in areas such as Auckland it can be the difference between a site that's feasible, and one that becomes a financial sinkhole.
Since the January 2023 floods, Auckland Council and insurers are scrutinising properties more closely than ever. On top of that, Plan Change 120 (PC120) is updating how the Auckland Unitary Plan manages natural hazards – including flooding – using a new risk-based framework.
So let's take a look at what you need to know before you buy, and if you're a new customer to Relab don't miss our 14-day free trial.
Work through flood risk like a developer
As you'll be aware, after the 2023 floods in Auckland the council and insurers are scrutinising properties closer than ever. So if you're buying, developing, or renovating, you need to understand the process – no guesswork or "it'll be right". In this environment, knowledge really is power.
PC120's natural hazard rules (chapter E36) now apply across Auckland with immediate legal effect. They introduce a three-level risk classification – Significant, Potentially tolerable, Acceptable – and aim to avoid significant risk, only enabling new development where risk is tolerable or acceptable. They also specifically look to maintain floodplains and overland flow paths and encourage more nature-based flooding solutions.
This checklist helps you work through flood risk the way a developer or consultant team would: start with free maps, then drill down into GeoMaps, PC120, council records, site realities and – when needed – expert advice.
Step 1: Start with the free flood maps
Before spending money on reports or consultants, start with the free tools. These will give you a first pass on potential water hazards for any property.
1A: Quick screening in Relab
If you have access to Relab (or are using the free trial), begin there:
- Turn on the flood overlay / flood hazard map to see where floodplains, flood prone areas and overland flow paths intersect your site.
- Add services and contours overlays to understand infrastructure and natural drainage patterns across the property.
Relab is designed as a fast, integrated screening tool – you see flood risk alongside titles, zoning, sales and other due-diligence data in one place.
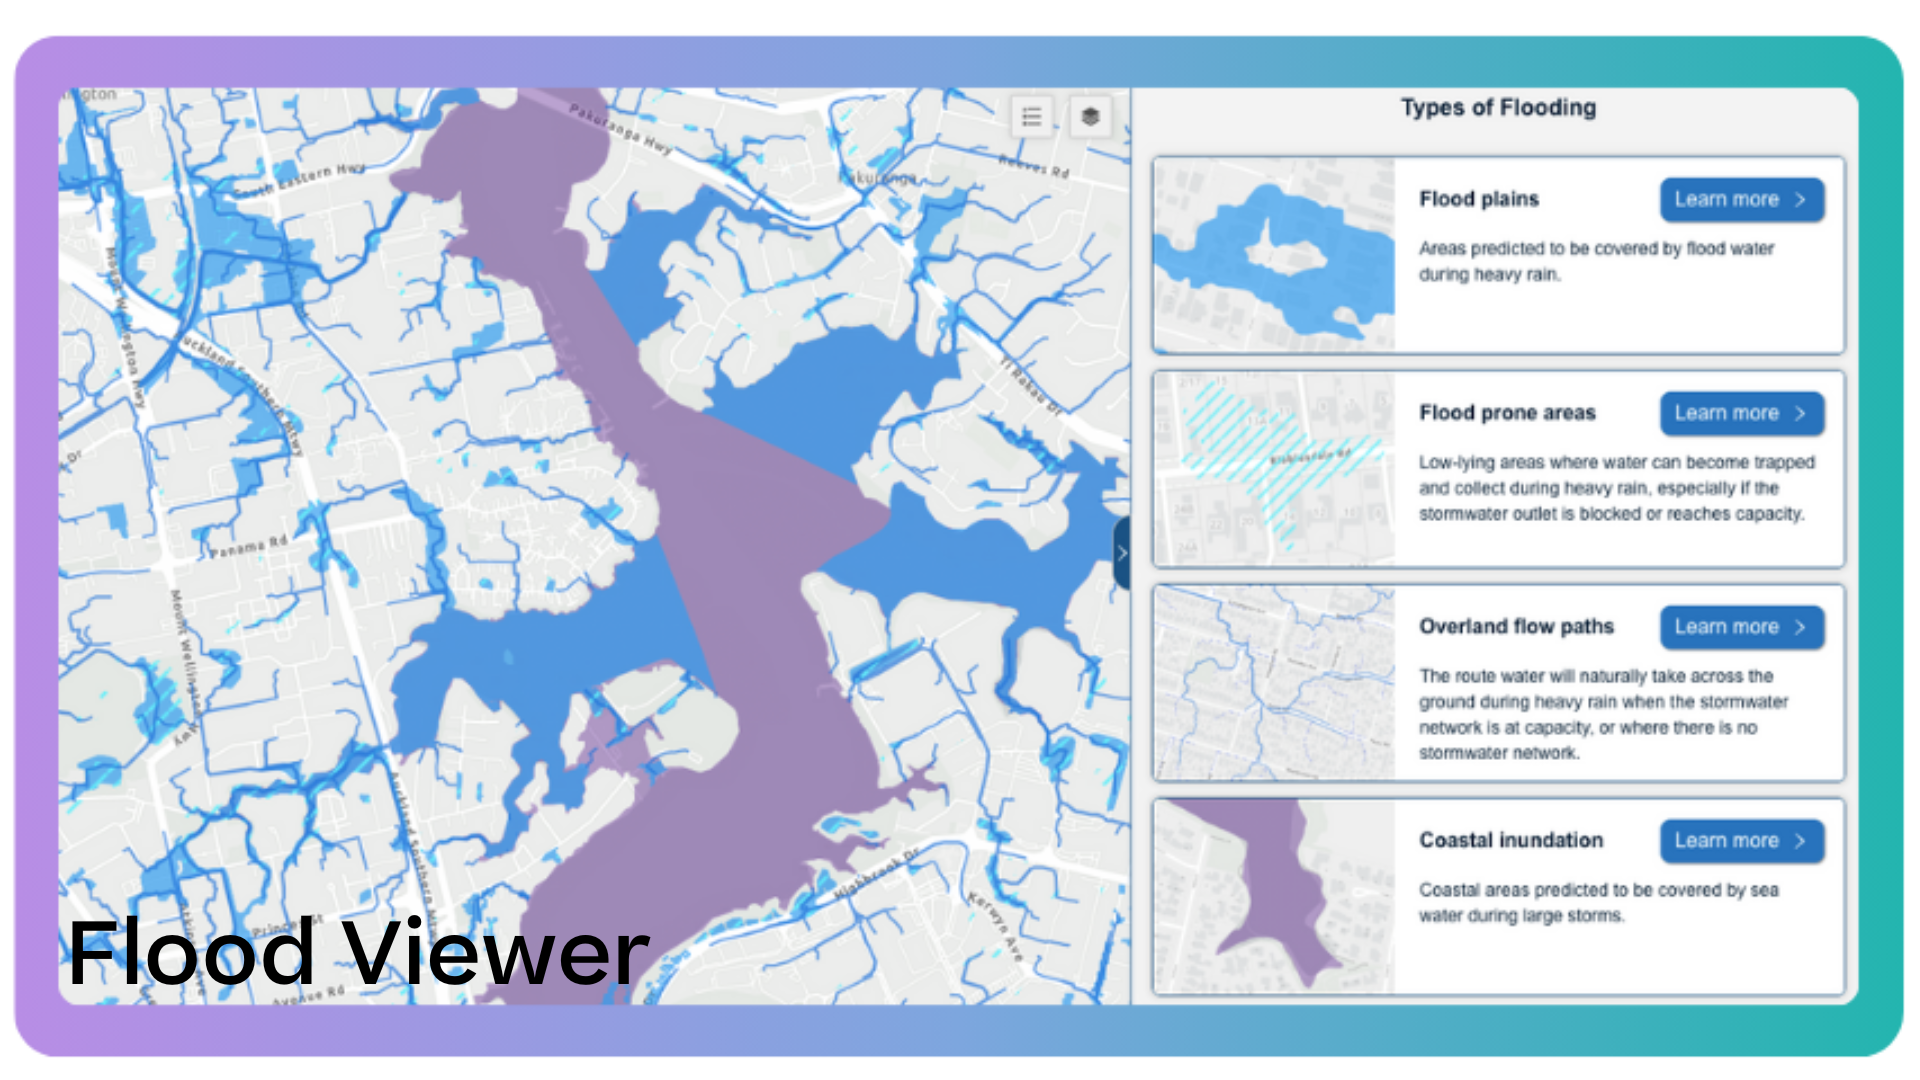
Option A: Viewing flooding risks via Flood Viewer
The simplest public starting point is Auckland Council's Flood Viewer.
As Michael Arthur from Metis Consultants explains, Auckland Council produced this Flood Viewer after the 2023 flood event because they recognised that some of the information in GeoMaps was difficult to digest and interpret.
Enter the property address and look for the four key hazards:
- Floodplains – risk during a 1-in-100-year event (a "1% chance of occurring in any year")
- Flood prone areas – landlocked areas where water can pool
- Overland flow paths – where stormwater naturally runs during heavy rain
- Coastal inundation – low-lying coastal sites exposed to storm surge
Any blue shading on your property? That's your cue to dig deeper using the steps below.
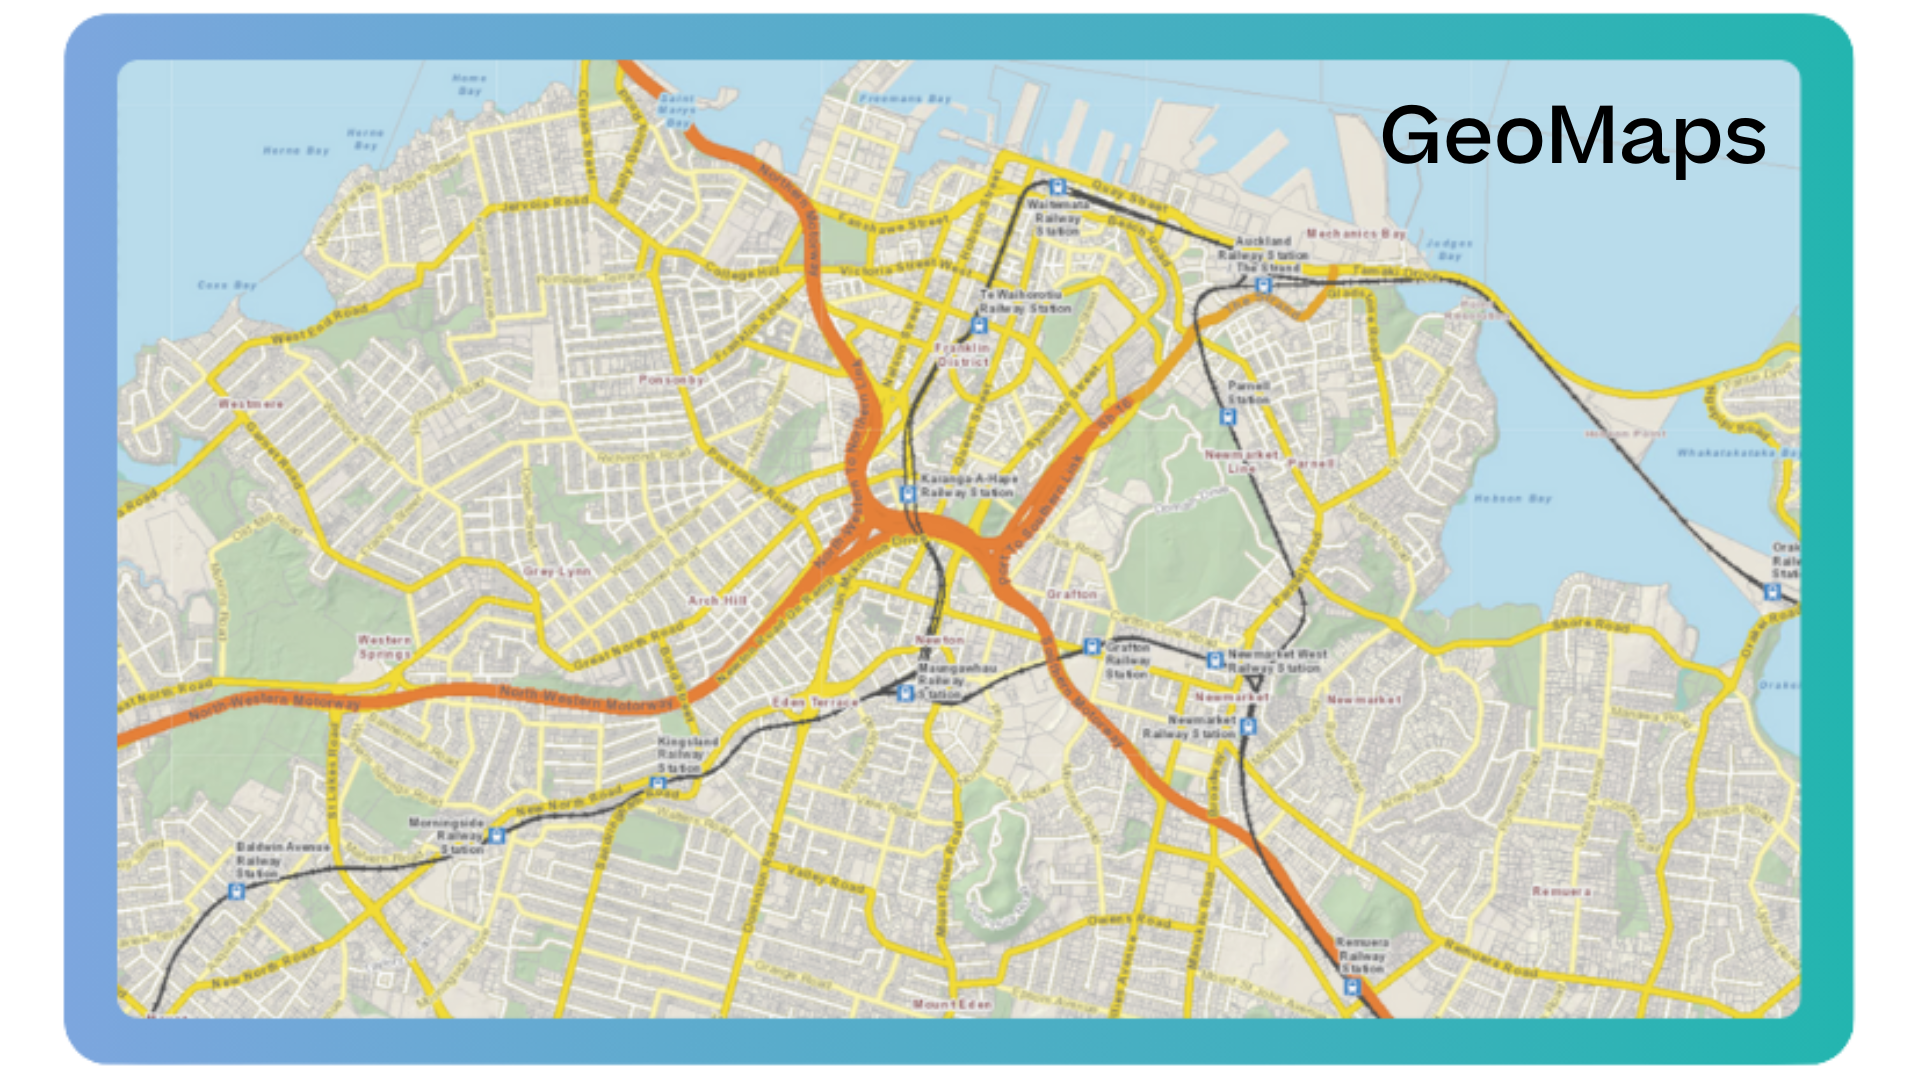
Option B: Technical analysis with GeoMaps
For a more detailed and technical deep dive, use GeoMaps:
- Switch to assets overlay, catchments & hydrology
- Turn on key flood risk layers: floodplains, flood prone areas, overland flow paths
- Adjust transparency to see how they overlap with property boundaries
Which tool should you use?
Start with Flood Viewer or Relab for a quick overview – they are faster and easier to navigate, showing the same underlying flood data. If you see any hazards or you're seriously considering the property, move to GeoMaps for the full picture.
Option C: Check PC120 map viewer & property summary
Because PC120 is changing how natural hazards are managed, it's worth checking the PC120 map viewer:
- Use the search bar to find the property.
- Click on the site to open the Property Summary – this shows the PC120 zone, management layers and any spatially identified qualifying matters that apply, including where a proposed flood-related qualifying matter is noted.
For some properties, the proposed qualifying matter for floodplains is only visible via this property summary, so it's a valuable cross-check if you're evaluating a site with mapped flood risk.
Step 2: Interpreting the flooding red flags
Not all blue shading on a map is created equal. Red flags don't always mean "walk away", but they always mean you should dig deeper:
- Floodplain overlap – is it at the top or bottom of the catchment? Upper-catchment overlap might be manageable; down-catchment where everything converges can be more serious.
- Overland flow paths – a minor one through a backyard might be workable. A major one through your garage, house or likely building platform is a serious constraint.
- Flood prone areas – potential ponding with no natural drainage. Depth and frequency matter; check attributes in GeoMaps.
- Coastal inundation – low-lying coastal properties face long-term insurance and finance risk, particularly with sea level rise.
Under PC120's natural hazard framework, sites in floodplains and key overland flow paths are likely to face closer scrutiny at consent time, especially where risk could be classified as Significant rather than Potentially tolerable or Acceptable.
Digging deeper with GeoMaps query tool
If you spot flood prone areas, floodplains or overland flow paths, use the GeoMaps query tool to investigate further. Here's what to check:
For floodplains:
- When was it modelled? (Older = more likely to be updated soon.)
- Does it include climate change impacts? Which scenarios?
- Download the PDF model report for full details.
For flood prone areas:
- Can it fill in a 100-year event?
- What's the ponding depth?
- Is the spill elevation above or below floor levels?
For overland flow paths – check the catchment size:
- 2,000–4,000 m² = lower risk
- 4,000 m²–1 ha = moderate risk
- Over 1 ha = higher risk
- Peak flows 1.5–2.5 m³/s can move a car, as Michael Arthur notes.
Note: mapped paths are based on topography only – retaining walls, fences and buildings can redirect flows to different locations than those shown on the map.
Critical thresholds requiring expert advice
If yes to any of these, you should seek expert advice from a Chartered Professional Engineer (CPEng) experienced in flood risk management:
- Building footprint within the mapped floodplain
- Peak flow above ~1.5 m³/s
- Catchment area over 4,000 m²
- Flow path crosses your potential building platform
Also keep a running "risk list" whenever you see:
- Large areas of floodplain covering the property
- High peak flows and large catchment areas
- Multiple risk layers overlapping (flow path + floodplain + infrastructure)
Step 3: Check infrastructure, and what lies underground
GeoMaps and Relab also show underground services like stormwater (green) and wastewater (red) pipes. This is where many people get caught out: big pipes often mean big constraints if you're planning to develop.
Look for the big pipes:
- Stormwater pipes > 450 mm diameter often mean a large upstream catchment draining through your property.
- Wastewater pipes > 300 mm diameter can mean sewers for a significant number of properties running through your site.
- Check where they run – under the house, through the middle, or in an area you'd like to build? These details matter.
Don't expect stormwater pipes to "save" you in a major flood. As Michael Arthur emphasises, the network is designed for frequent events, not 1% AEP extremes – those bigger events are exactly what the flood maps and PC120 hazard rules are concerned with.
Step 4: Review council records (it's all public info!)
Don't rely on maps alone. Cross-check what you see against other publicly available documents:
- LIM (Land Information Memorandum) – flood complaints, drainage notes, historical hazards. You can order one here.
- Property file – old consents, drainage layouts, site-specific flood reports. You can order one here.
- Technical reports via GeoMaps "More info" – instant access to the detailed modelling behind the maps.
When you're reading these reports, check:
- How old is it?
- What assumptions does it rely on?
- Does it factor in climate change?
Pro tip: Sometimes council has additional modelling that isn't visible in GeoMaps – you can request this if standard documents raise more questions than answers.
Step 5: The on-site reality check
Maps are good; muddy lawns and blocked drains are even better evidence. The on-site check helps you work out whether the mapped risks are a nuisance or a dealbreaker.
Keep an eye out for:
- Ponding, soggy patches or blocked drains
- Driveway/garage levels below the street (classic risk flag)
- Fences, walls and landscaping that could block or redirect flow
- Visible signs of past flooding or ad-hoc "fixes"
Ask neighbours about flooding history – but remember the warning from Metis Consultants: "Just because it hasn't flooded before doesn't mean it won't in the future." Many people flooded in 2023 had never seen water on their property before that day.

Step 6: Bring in the experts
If flood risk starts looking concerning, this is where you invest in advice. Yes, it costs money – but it's a fraction of the cost of buying a site you can't use the way you planned.
When to call an expert
Some red flags scream "get help now" rather than later:
- The 25% rule: If flood overlays cover more than ~25% of the site, get professional eyes on it. Same goes for overland flow paths cutting through the site (boundary-only is usually less of a concern).
- The insurance test: You can get insurance quotes before you buy. If insurers are nervous or banks want special conditions, that's a clear cue to call in experts.
- The contradiction check: When the owner swears they've never seen flooding, but flood maps and modelling show risk, you need someone who can reconcile the difference – especially where your site sits just outside mapped extents or near critical flow paths.
What a flood engineer will do
A Chartered Professional Engineer (CPEng) experienced in flood risk will typically:
- Interpret council flood models and technical reports
- Visit the site to confirm risks on the ground
- Run detailed flood modelling if needed (for consents or major builds)
Timelines vary. As Michael Arthur notes, simple desktop checks may take a few working days; more complex modelling, particularly if council input is required, can take 15–20 working days. Factor this into your due-diligence and conditional offer timelines.
Step 7: Development and renovation considerations
Even if you're comfortable with the flood risk, council won't necessarily let you build just anything. If your site sits in a floodplain or major overland flow path, council will require proactive management of risk – which can mean extra fill, design work and cost.
Council will typically want to see:
- New buildings raised above modelled flood levels (often at least 500 mm freeboard)
- Overland flow paths left functionally clear (no blocking key inlets/outlets)
- Safe evacuation routes
- Stormwater systems sized to handle extra runoff from your proposal
Under PC120's updated E36 Natural Hazards provisions:
- Rules to manage natural hazard risk now have immediate legal effect.
- For new subdivision, use and development, council's goal is to avoid Significant risk and only enable development where risk is Potentially tolerable or Acceptable, while maintaining floodplains and overland flow paths.
Practically, that means development proposals in floodplains, OLFP-affected sites and some coastal areas are likely to face more detailed risk assessments and conditions. Factor this into feasibility early – not after you've gone unconditional.
Step 8: Council risk categorisation reports
Following the January and February 2023 events, Auckland Council ran a risk assessment and property categorisation programme for flood-affected owners. Those who opted in received a site-specific flood risk assessment and a risk categorisation.
The scheme has now closed and risk assessment reports have been issued. If a property was assessed, a copy of the report sits in the Property File. The categories are:
- Category 1: No intolerable risk to life at the property (it may still have flooded, but not to a level considered an intolerable risk to life).
- Category 2: Intolerable risk to life – but manageable with mitigation (2C – community-scale; 2P – individual property-scale).
- Category 3: Intolerable risk to life with no feasible mitigation (these properties have been, or will be, purchased by Auckland Council).
If you're considering a property with a Category 2 or 3 rating, contact the Auckland Council Recovery Office immediately to understand status and options.
While this categorisation programme is separate from PC120, both are focused on identifying where risk to life is intolerable vs manageable vs acceptable, so treat Cat 2 and 3 reports as major red flags in your decision-making.
Step 9: Insurance, finance, and the wider context
Flood risk isn't just a planning issue – it directly affects your bottom line. If the answer is "yes" to two or more of these, get professional advice before proceeding:
- Has the property been impacted in past events (e.g. Jan 2023)?
- Are insurers charging higher premiums, loading excesses or excluding flood cover?
- Are banks requiring extra reports or special lending conditions?
Remember that PC120 signals a more conservative approach to development in high-risk areas, which can influence how comfortable insurers and lenders feel funding your plans.
The final choice: yay or nay?
Here's a simple decision rule of thumb – don't ignore these; get expert support to guide you through. Seek expert input if:
- The property sits in a floodplain (1% AEP)
- More than 25% of the site is flood-flagged
- An overland flow path intersects a building or critical access
- Peak flow on the site exceeds ~1.5 m³/s
- The property is low-lying, below the road and/or near the coast
- Stormwater infrastructure is undersized or absent
Wrapping up the risk
Flood risk due diligence isn't about scaring yourself out of every deal – it's about being fully informed. Sometimes you'll uncover a fatal flaw. Sometimes you'll find risks you can design around. Sometimes you'll find negotiating leverage on a site others walk away from.
The process is what matters:
- Start with Relab, Flood Viewer and GeoMaps
- Cross-check with PC120 map viewer & property summary, LIMs, property files and on-site reality
- Bring in Chartered Professional Engineers when risk is more than low-level noise
That's how developers protect themselves from nasty surprises – and how you should approach your next Auckland site.
Want to learn more?
- Access the free resources linked throughout this guide
- Try Relab's property data platform for faster initial research
- Contact a flood risk specialist consultancy like Metis Consultants for complex sites (make sure you're dealing with a Chartered Professional Engineer experienced in flood risk management)
Important note on PC120 (disclaimer)
This checklist summarises public information about Auckland flood maps, PC120 natural hazard provisions and council processes in general terms. It is general information only and is not planning, legal, engineering or financial advice.
PC120 is still progressing through submissions, hearings and decisions. Before making decisions about buying, selling or developing, always:
- Check the latest Auckland Council Flood Viewer, GeoMaps, PC120 map viewer and planning maps, and
- Get advice from a suitably qualified planner, engineer, legal and/or financial professional for your specific property.